In this article, we are going to install and setup Cpanel on Ubuntu 20.04, cPanel provides an easy way where you can setup emails and host your websites by providing email and web hosting services that make it easy to setup and communicate with your clients.
What is cPanel?
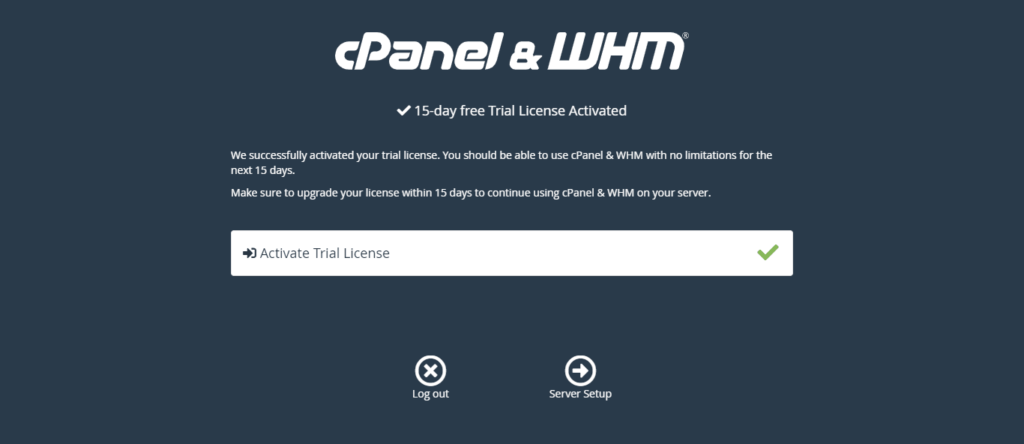
The cPanel is one of the most popular software solutions for web and email hosting providers and easy to manage servers when it comes to server management. cPanel has a simple user interface but the powerful premium control panel allows for performing all essential settings in the area of server administration and account and package management that can be done through a web-based user interface. cPanel and WHM are designed to only work on Linux systems, pricing starts from $15.99 and comes with 15 days of free license.

What do cPanel and WHM offer?
This control panel offers a wide range of features for managing a server and configuring web hosting accounts. The users can perform all settings. The web hosting manager WHM, on the other hand, is used to organize individual webspace packages and user accounts including access to the command terminal with root access. With the webmail interface, there is also a separate application available for e-mail traffic.
There are two platforms – cPanel and WHM, here are some of their features:
cPanel Control Panel
It is a front end that is provided to end-users with pre-configured settings and management software. It helps the users to manage the domain, website, hosting files, and more… All of this is just by simply using mouse clicks.
- Domain management: Domains can be activated, parked, or forwarded. In addition, subdomains can be created and entries such as A-Record, MX-Record, or CNAME can be edited using the DNS Zone Editor.
- Email administration: Mailboxes and e-mail accounts can be created and managed. In addition, advanced settings such as spam filters, autoresponders, or e-mail forwarding can be set up.
- Security settings: Security-related functions such as activating directory protection, blocking certain IP addresses, or setting up SSL certificates can be carried out.
- Databases and files: The data available in the webspace can be organized and saved using the backup function. Larger data sets can also be organized in database systems such as MySQL or PostgreSQL.
- Log files: With the help of the Webalizer and AWStats applications, a detailed analysis of the log files can be carried out, in which all accesses to your website can be traced
WHM web hosting manager
It is the main platform that is used for the administration of user accounts and the creation of individual webspace packages including installing additional plugins, updating, and more… Here are key features:
- User administration: Individual user accounts can be created and managed. System resources can be individually allocated to the individual packages and access can be set up for customer accounts.
- Server monitoring: Server monitoring helps administrators to keep an eye on the processes on the entire server. In this way, for example, traffic consumption and system resources used can be permanently monitored.
- Backups and moves: Complete backups of the entire web hosting accounts can be created and restored if necessary. In addition, customer accounts can be easily moved to other servers.
- Unique branding: The WHM Webhostingmanager enables customers to act as an independent Webhosting provider thanks to individual branding. In addition, logos, colors, and other design elements can be adapted.
Prerequisites
- Make sure you have Ubuntu 20.04 up and running
- You have root ssh access to the server
- You have a hostname with a fully qualified registered domain
- Disable OS firewalls
- Make sure SELinux is disabled if you have installed
- Make sure you have installed Perl
1. Run system update
on all Linux servers, it’s always recommended to run system installation for a freshly installed operating system to make repositories up to date.
sudo apt update
sudo apt upgrade
2. Set fully qualified hostname on Ubuntu 20.04
cPanel needs FQDN- Full qualified domain name for proper installation, to make sure you have set the hostname to the domain name that you are planning to use with it. to check your hostname run the below command
hostnameto set it to a hostname, for example here we are using myserever.iptvadvice.com, edit the file, and replace the old hostname with your hostname
nano /etc/hostnameSave the file by pressing Ctrl+X and then Y to exit.
Now, open file /etc/hosts Add a line with something like below but change the IP address with your server’s address and also the domain name.
nano /etc/hosts192.168.10.10 myserver.iptvadvice.com myserveryou have to put your server IP and your hostname on the above code
to Confirm the hostname has been set we need to reboot the server and after reboot checks the hostname using the below commands.
reboothostname3. Install Cpanel/WHM on Ubuntu 20.04 LST Server
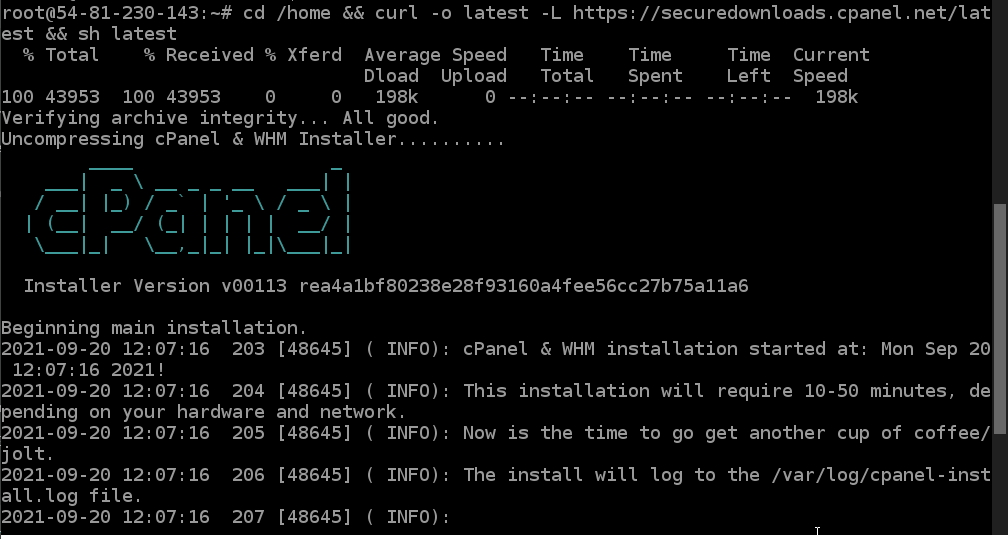
Now to install Cpanel run the following command on your terminal
cd /home && curl -o latest -L https://securedownloads.cpanel.net/latest && sh latestnow you must see output will look like bellow

Let the system perform the installation, and wait for a few minutes. Once it is done you will get the message
4. Access WHM/CPanel Web interface
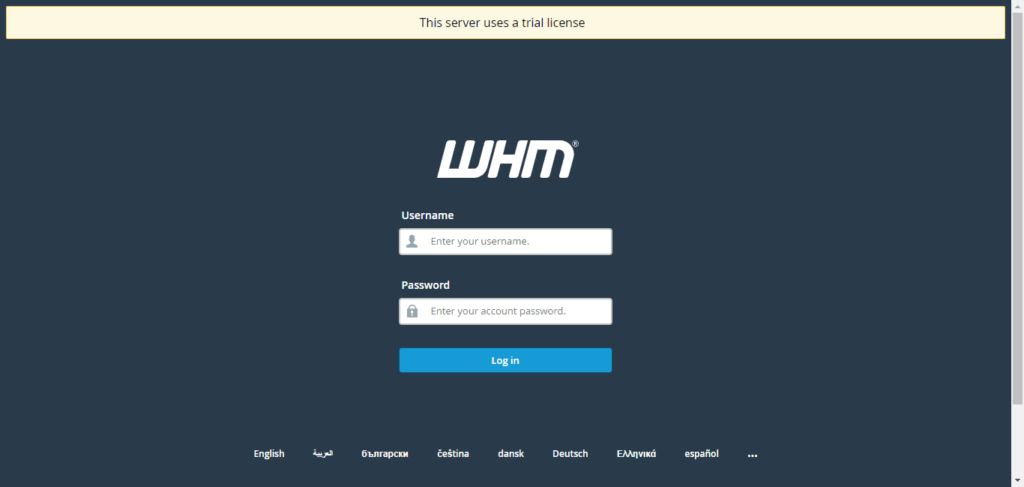
Now, open any browser to access WHM in your browser type- Your-Server-IP:2087 or your hostname.
When you get to the login screen, enter the root as username and the password set for it on your Ubuntu 20.04 Server and complete the wizard, and setup your custom settings.


now the cPanel and WHM setup is completed and you are able to host your website into cPanel, if you have any questions you can comment.

